STEPS
Continue from previous tutorial or download startup file.
1) Save project as “bmw-m5-2”.
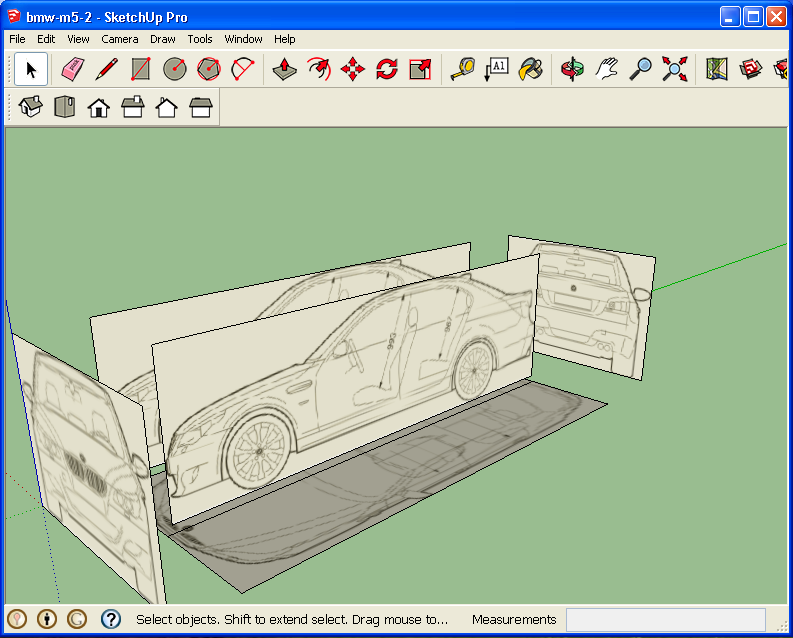
2) Build the Roof Section.
2.1) Draw a perpendicular line connecting the two side images at the top.
(Press Right-Arrow Key to constraint movement along Red-Axis only)

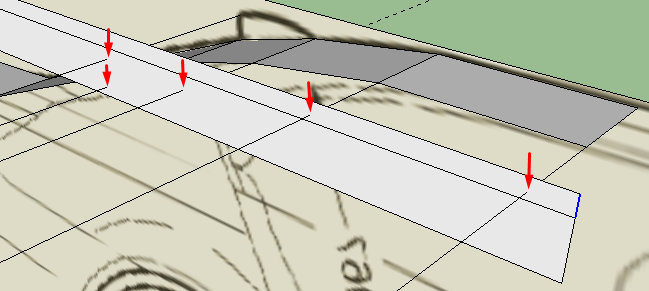
2.2) Draw perpendicular lines connecting important points.

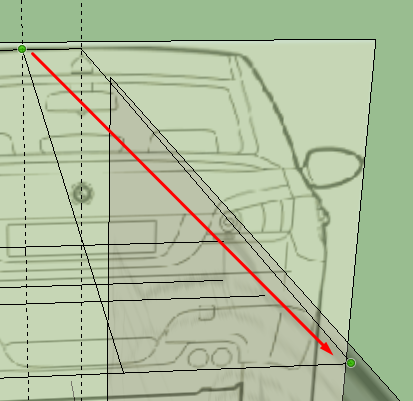
2.3) Draw lines perpendicular to Back View image.
(Press Left-Arrow key to constrain movement to Green-Axis only).

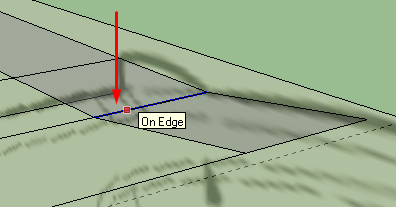
2.4) Draw three guide lines on Back View image and trace the roof of the car by drawing lines connecting these guidelines.

Check from other perspectives to make sure the roof lines is on the face of the image.

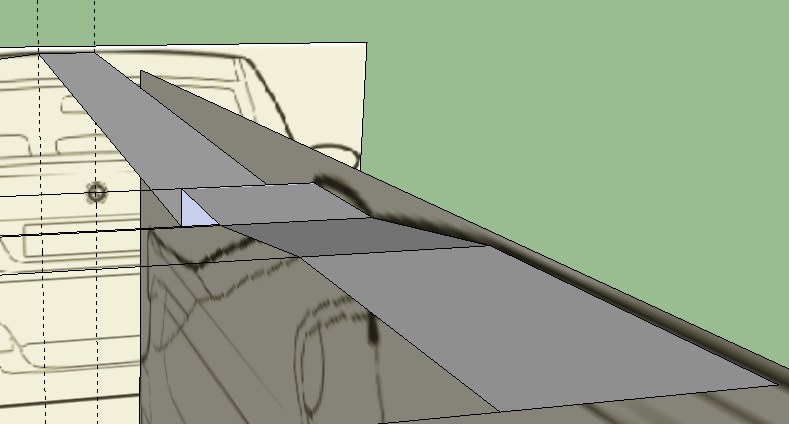
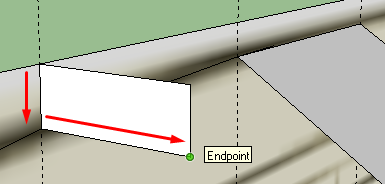
2.5) Draw a rectangle as shown below.
2.6) Cut the rectangle and reposition the side of the rectangle at the center of the roof.
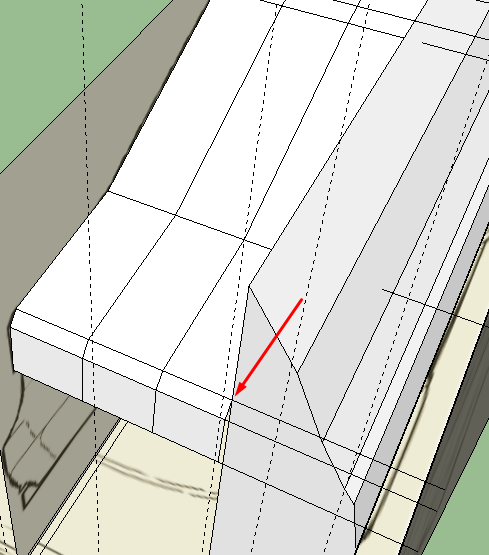
1-Draw a line as shown below.

2- Push the side of the rectangle so that it touches the perpendicular line beneath.
3- Repeat the same steps to produce a shape as follows:
4- Extend the shape to the back of the car model.

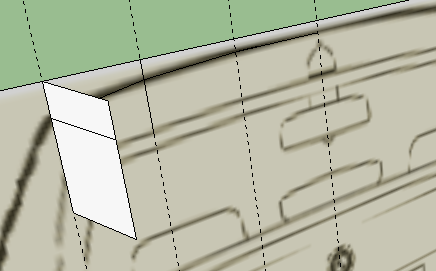
2.7) Draw a verticle rectangle.
1- Make a small rectangle first.
2- Pull it forward along Green-Axis until it reaches the center of the car.
Notice that we can see the perpendicular lines go through this rectangle.

3- Draw another rectangle so that you can clearly see the points that other perpendicular lines go through.
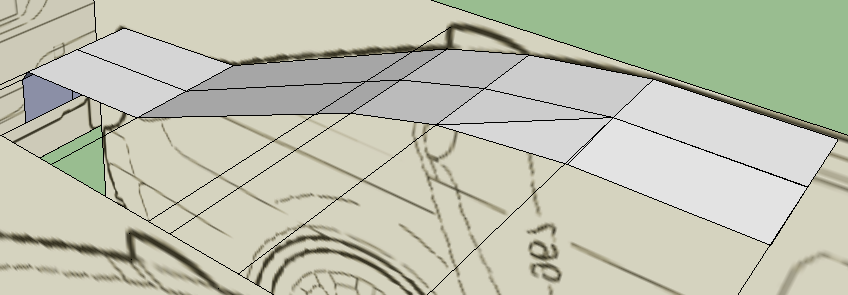
4- Extend the existing roof by adding a rectangle and two lines.

Finish the remaining part of the shapes by adding few more rectangles.

Clean up your drawing by deleting unneeded faces and edges.
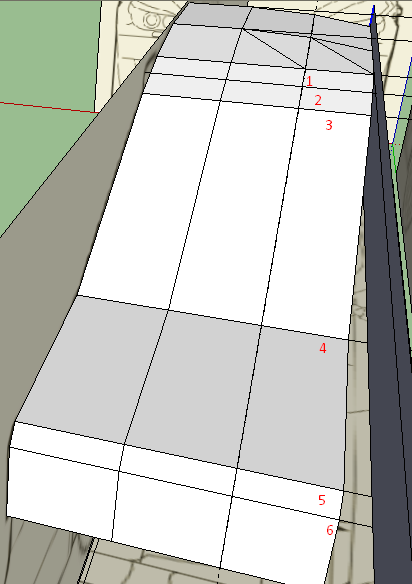
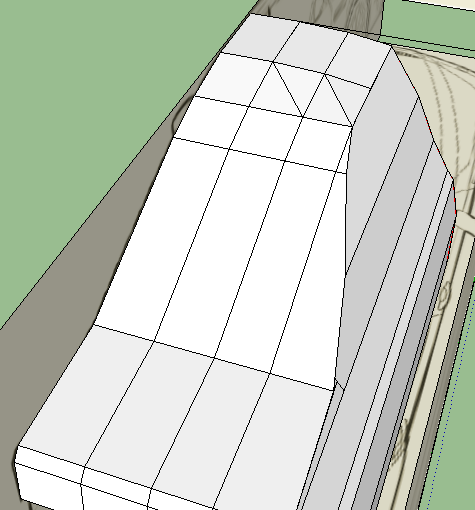
2.8) Add the next verticle rectangles and extend the roof.
Start with a small section first.
Then pull them along Green Axis to the center of the car roof.

Draw a rectangle and two lines.

Finish the rest with rectangles.
3) Build the side of the car.
3.1) Turn to Back View.
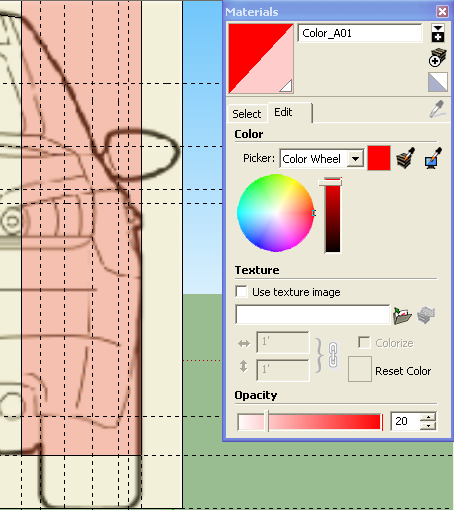
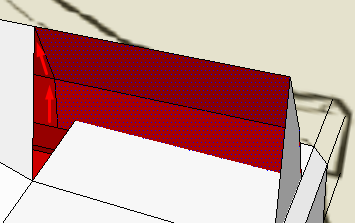
3.2) Draw a rectangle as shown below.
3.3) Paint colour material and set 20% opacity.
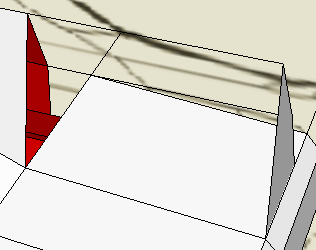
3.4) Draw lines to form the shape for the upperside and delete the unneeded face.
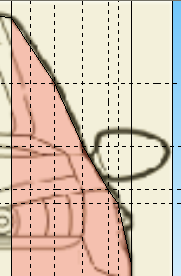
3.5) Outcome:

3.6) Duplicate the shape to the point shown below.

Pull the Front Face forward so that it touches the roof corner.
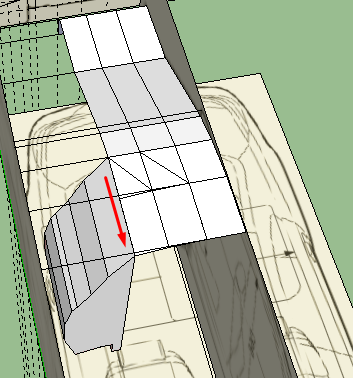
Pull the Back Face backward so that it touches the back bonnet of the car.
Draw rectangles and let the objects intersect with each other.
Notice that there are unneeded parts which will be deleted in the next steps.

Before deleting the faces, draw a line to split the unneeded face from its main object.

Draw two lines to split the other side of faces.
Delete those faces and clean up excess lines.
Draw two more rectangles to intersect with the Side Object

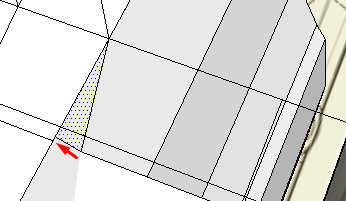
Draw a line to split the face and delete the selected face.

Draw another line to split the face and delete the selected face.
Delete the other side of the face as well.

Keep on drawing lines to split the faces and delete them.
Clean up unneeded faces and edges.
Finally, you should get the following design.
DOWNLOAD: Completed Project File
---
No comments:
Post a Comment