
---
AUTOCAD FUNDAMENTALS 103 (Navigation Tools)
Contents
0) PREPARATION
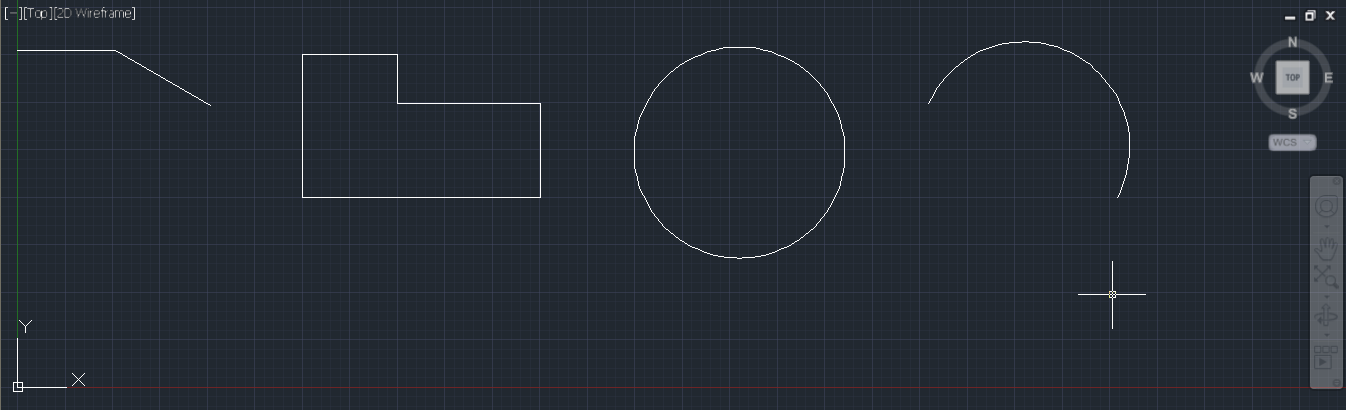
Continue from previous tutorial or download the Startup File.
1) VIEW TAB
1-1) Start AutoCAD.
1-2) Find the VIEW Tab.
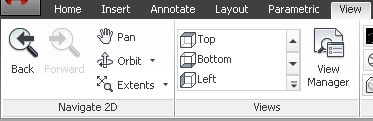
1-3) Look at the three main navigation buttons.
Pan, Orbit, Extents.
2) PAN
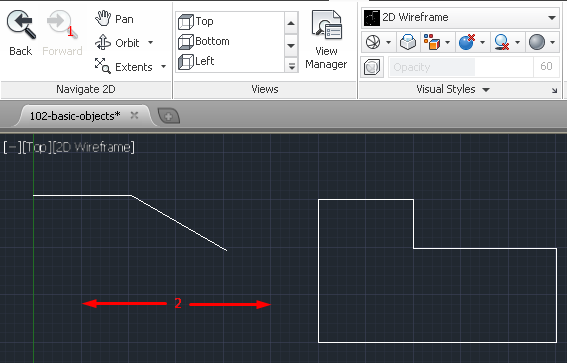
2-1) Click the Pan Button.
2-2) Click on the Drawing Area and drag to Left or Right direction.
3) ORBIT
3-1) Click the Orbit Button.
3-2) Click and Drag, either Left/Right or Up/Down.

4) EXTENTS
4-1) Click the drop down button besides Extents Icon.
4-2) Start with the IN and OUT button.

4-3) Use Back/Forward Button to move between the view states that you have chosen.

Info:
As shown above, there are many options under the Extents button.
Details of each of them will be covered in separate tutorials.
|
5) MOUSE Operation
5-1) Use Mouse Scroll Button Up/Down to Zoom In/Out
5-2) Click Mouse Scroll Button to Pan.
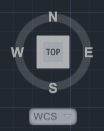
6) VIEWCUBE and (NEW) FLOATING NAVIGATION BAR

6-1) Use VIEW CUBE to switch viewing angles.
6-2) Use the PAN and ORBIT

7) STEERING WHEEL

Now, try using Steering Wheel to perform the Navigation works.
7-1) Click the Steering Wheel on Navigation Bar.
7-2) Click somewhere on the drawing area to fix the position of the Steering Wheel.
7-3) Click the Pan Button on the Steering Wheel and move your mouse to Left and Right to see the outcome.
7-5) Close the Steering Wheel by clicking the X button on top right corner of the wheel.
---
No comments:
Post a Comment