---
SketchUp Photoshop and Anime Studio
1) OPEN SAMPLE MODEL
Using Sketchup 3D Warehouse Model
SketchUp Standard Views
Zoom, Pan and Orbit Tool
Scenes
Animating Scenes
Exporting Scene Animation to AVI format
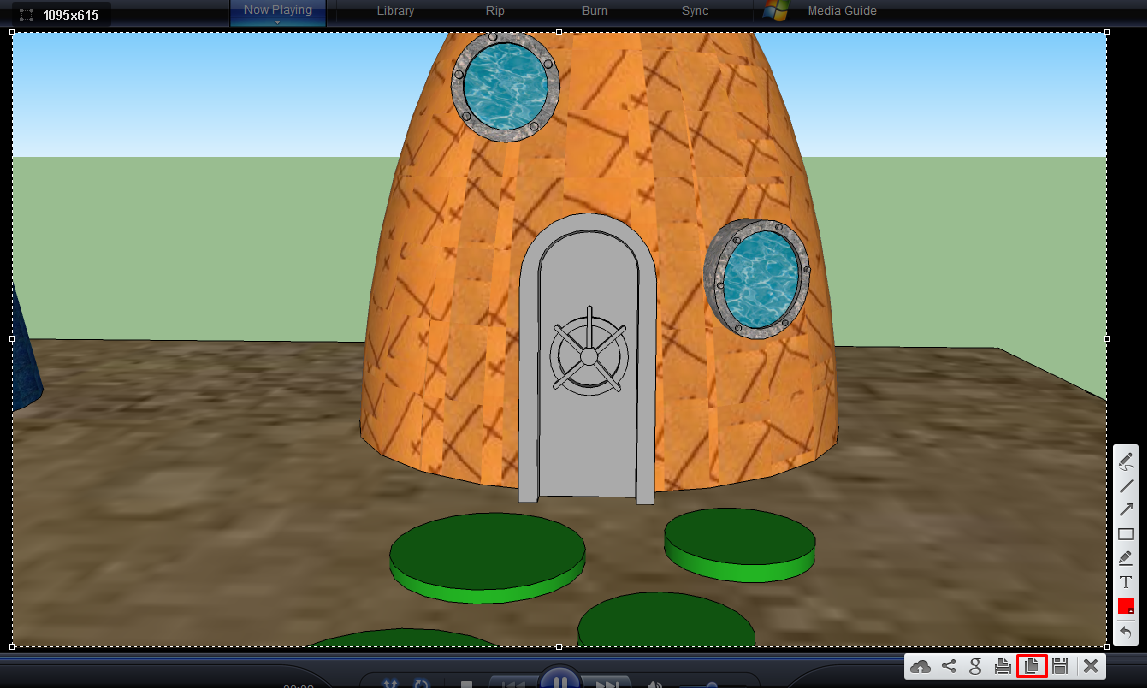
Capturing Video Screenshot
2) IMPORTING IMAGE TO PHOTOSHOP
Special Selection Tool
Inverted Selection
Layer Arrangements
Healing Image
Gradient Tool
Gradient Style
Image Adjustment (Hue/Saturation)
Exporting Layers as Separate Images
3) IMPORTING IMAGE TO ANIME STUDIO
Creating New Anime Studio Project
Importing Image Into Anime Studio
Layer Arrangements
Resizing objects
KeyFrame Animation
Exporting As AVI Format
1) OPEN SAMPLE MODEL
1-1) Run SketchUp

1-2) When SketchUp Welcome Dialog pops up, click Start Using SketchUp

1-3) Main Application window.

Using Sketchup 3D Warehouse Model
Info:
There are a lot of 3D Models available at https://3dwarehouse.sketchup.com
For the purpose of this exercise, the model can be downloaded from:
|
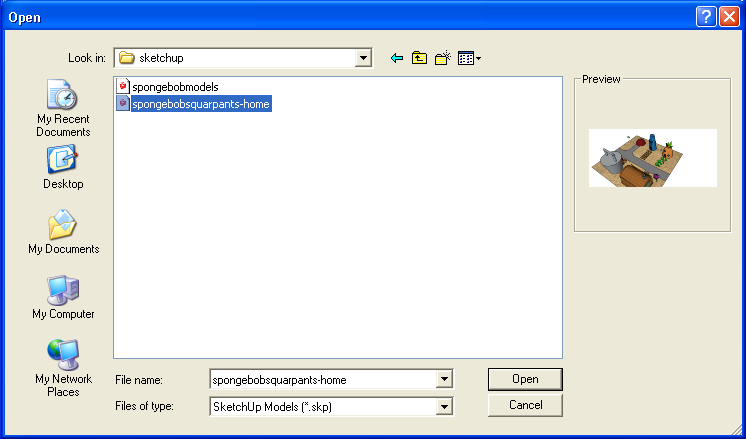
1-4) Open File.

1-5) Select spongebobsquarepants-home
SketchUp Standard Views
1-6) Select Standard Views/Right.


Zoom, Pan and Orbit Tool
1-7) Click Zoom Tool button on Toolbar

1-8) Click and drag mouse up to Zoom In.

1-9) You are moving in.

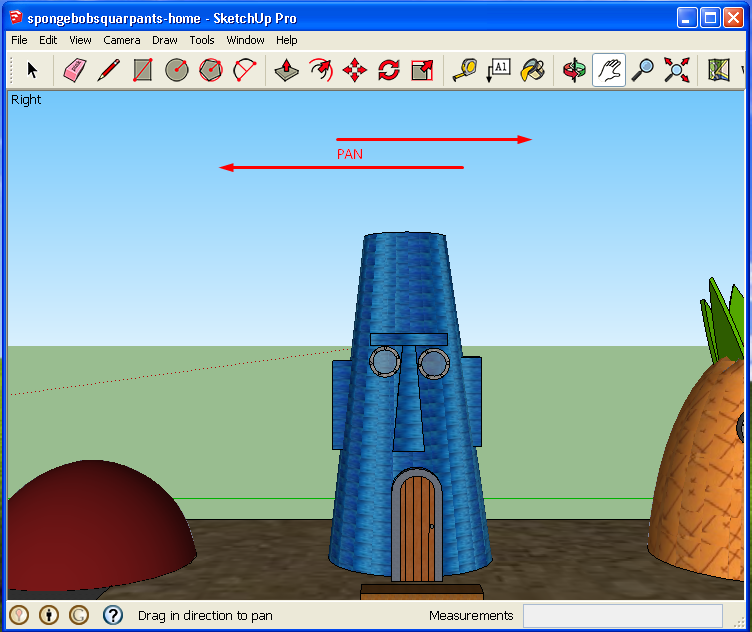
1-10) Click Pan Tool.

1-11) Click and Drag Mouse to left/right to Pan.
1-12) Click Orbit Tool

1-13) Orbit to the right.

1-14) Using Zoom, Pan and Orbit, position your view as follows.

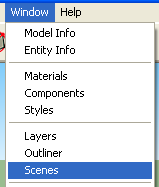
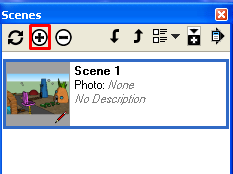
Scenes
1-15) Select Window/Scenes.
1-16) Add a scene.

1-17) The Tab “Scene1” appears in Window.

1-18) Add second scene.

1-19) Add Third Scene.
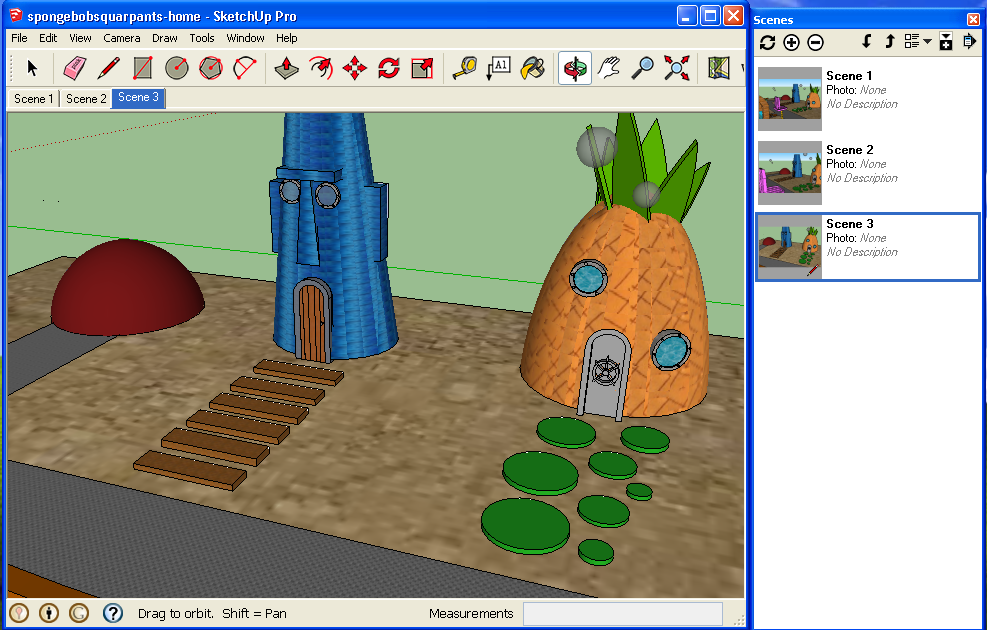
1-20) Add Fourth Scene.

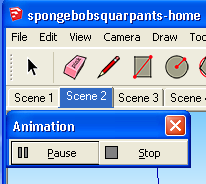
Animating Scenes
1-21) Select View/Animation/Play.

1-22) Click Stop.
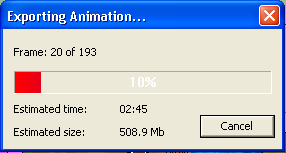
Exporting Scene Animation to AVI format
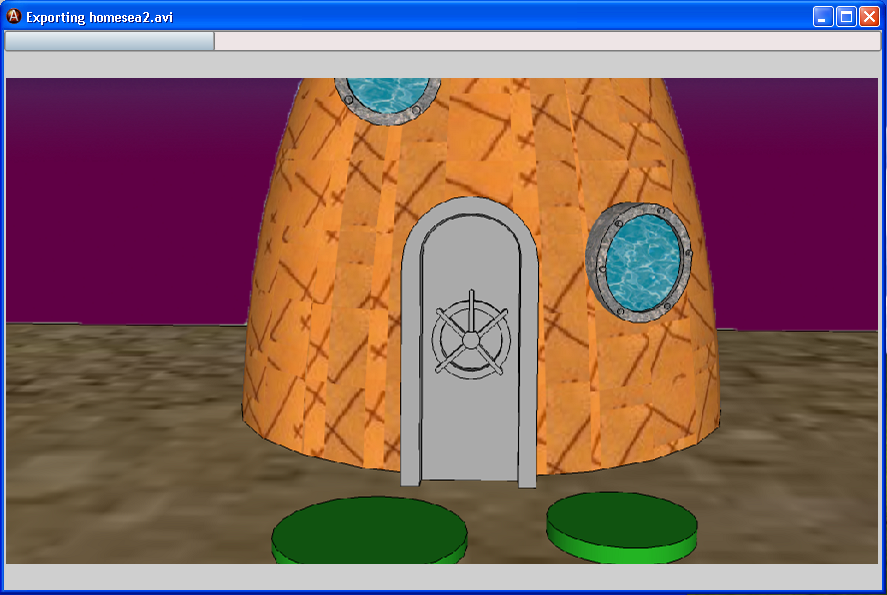
1-23) Select Export/Animation/Video…

1-24) Exporting in progress.
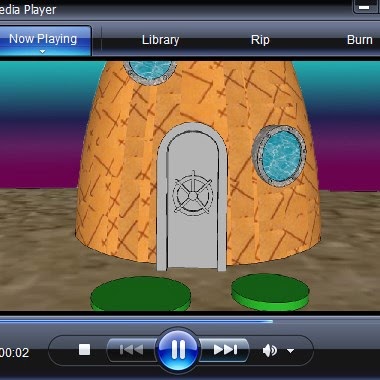
Capturing Video Screenshot
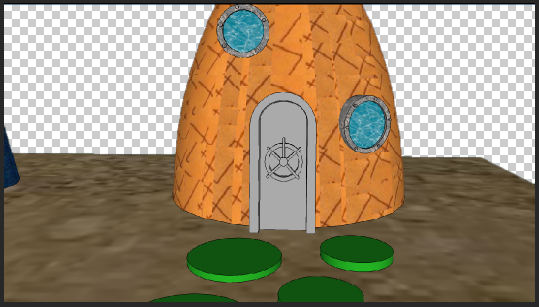
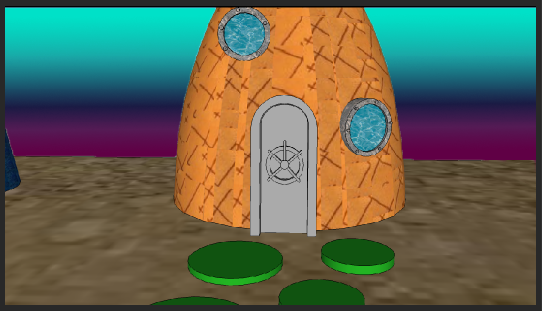
1-25) Play the movie and capture a screenshot of the last scene.

2) IMPORTING IMAGE TO PHOTOSHOP
2-1) Select File/New.

2-2) Accept Default Settings.

2-3) Select Edit/Paste.
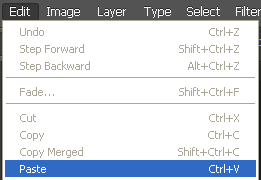
2-4) Image is pasted to drawing space.

Special Selection Tool
2-5) Select Tool/Wagic Wand Tool.

2-6) Use Click+SHIFT key to select the areas.

2-7) Select Select/Deselect.
2-8) Select Tool/Quick Selection Tool.

Inverted Selection
2-9) Select Select/Inverse.

2-10) The selection is inverted.
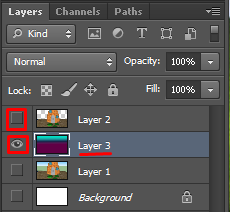
Layer Arrangements
2-11) Select Layer/New/Layer Via Copy.

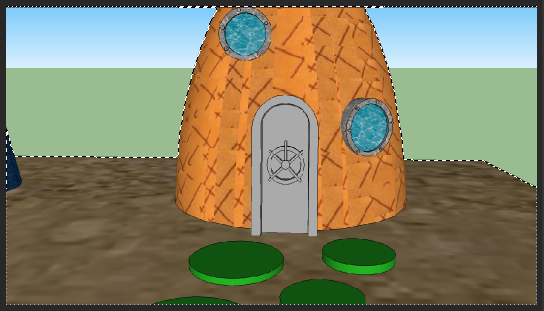
2-12) Make Layer 2 active and hide other layers.
2-13) Outcome.
Healing Image
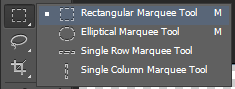
2-14) Select Tool/ Rectangular Marquee Tool.
2-15) Outcome.

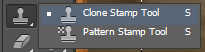
2-16) Select Tool/Clone Stamp Tool.
2-17) Press ALT Key and Click the point shown below.

2-18) Paint the blank space.

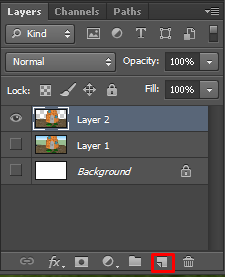
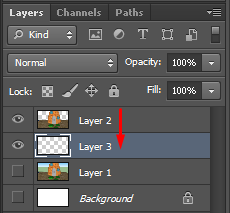
2-19) Add New Layer.
2-20) Move Layer 3 down.
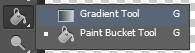
Gradient Tool
2-21) Select Tool/Gradient Tool.
Gradient Style
2-22) Select Red_Green Style.

2-23) Paint by clicking two points (top to bottom)

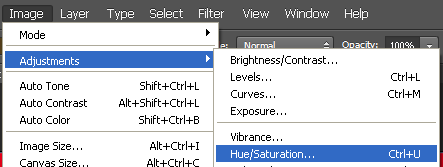
Image Adjustment (Hue/Saturation)
2-24) Select Image Adjustments/Hue/Saturations.
2-25) Adjust Hue.

2-26) Outcome.
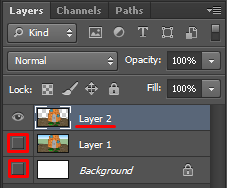
2-27) Make Layer 2 active and hide other layers.

2-28) Outcome.

Exporting Layers as Separate Images
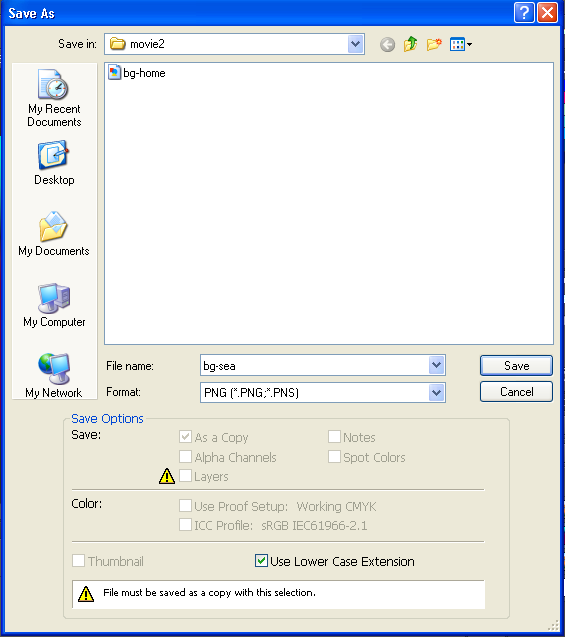
2-29) Select File/Save As.

2-30) Type name bg-home.png

2-31) Accept default.

2-32) Select Layer 3 and hide other layers.
2-33) Outcome.

2-34) Save as bg-sea.png.
2-35) Check in File Explorer that files exist.

2-36) Save the document as bghomesea.psd and close Photoshop.

3) IMPORTING IMAGE TO ANIME STUDIO
3-1) Run Anime Studio.
Creating New Anime Studio Project
3-2) Select File/New.

3-3) Outcome.

Importing Image Into Anime Studio
3-4) Select File/Import Image.

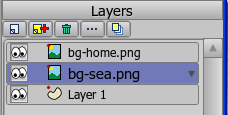
Layer Arrangements
3-5) bg-home is imported into Layers.
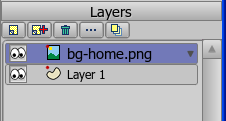
3-6) Add bg-sea image as new layer.

3-7) Move bg-sea layer down.

3-8) Outcome.

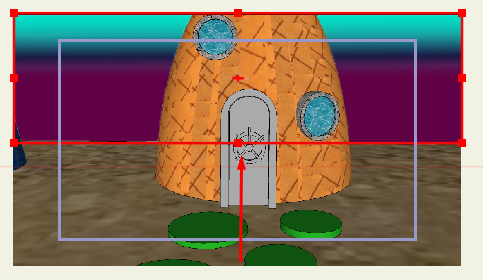
3-9) Select bg-sea layer.
3-10) Make sure Select Layer icon is selected.

Resizing objects
3-11) Resize bg-sea layer as follows.
KeyFrame Animation
3-12) Go to Frame 1.
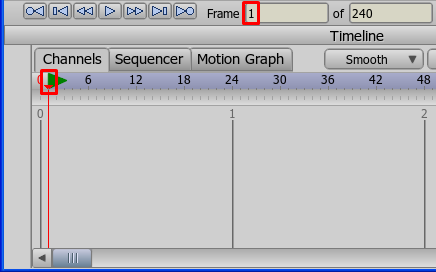
3-13) Select Animation/Add Keyframe.

3-14) Outcome.

3-15) Go to Frame 24, Add Keyframe.

3-16) Resize bg-sea layer.


3-18) Resize bg-sea layer.

3-19) Set Last Frame as 96 and and click Play.

3-20) Select View/Show Output Only.

Observe that there is a frame through which all layers become visible.
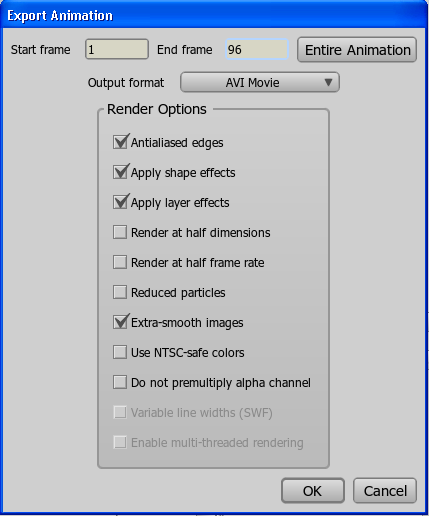
Exporting As AVI Format
3-21) Select File/Export Animation.

3-22) Accept defaults.
3-23) Save as homesea2.avi
3-24) Accept defaults.

3-25) Exporting in progress.
3-26) Movie Player automatically plays the movie.

No comments:
Post a Comment