
---
1) PREPARE PROJECT FOLDER
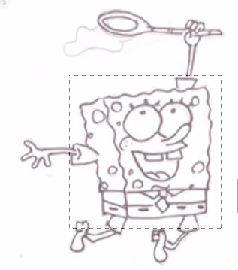
2) OPEN IMAGE FILE
3) ZOOM TOOL
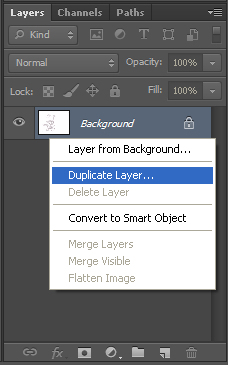
4) LAYER
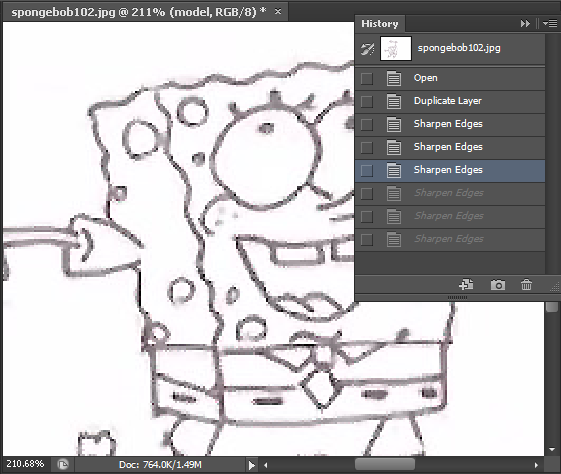
5) SHARPEN TECHNIQUE
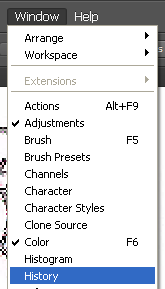
6) HISTORY TOOL
7) PAINT TOOL
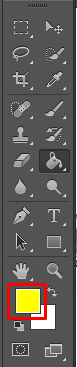
8) SWATCHES
9) IMPORT OTHER IMAGE (LAYER PANEL)
10) EYEDROPPER TOOL
11) BRUSH TOOL
12) PAINTING ALL IMAGES
1) PREPARE PROJECT FOLDER
1)Create a new folder “images”

Download tutorial file: https://drive.google.com/file/d/0B86b-ALn-1MGTThEdUpoVm1aNDA/edit?usp=sharing
|
2) copy original images from folder “basicframes” into “images”.

3) Run Photoshop
2) OPEN IMAGE FILE
4) Open Spongebob102.


3) ZOOM TOOL


4) LAYER


5) SHARPEN TECHNIQUE


6) HISTORY TOOL


7) PAINT TOOL


8) SWATCHES


RGB = Red Green Blue
CMYK = Cyan Magenta Yellow black

9) IMPORT OTHER IMAGE (LAYER PANEL)
Copy the image “spongebob-facial” into “images” folder.

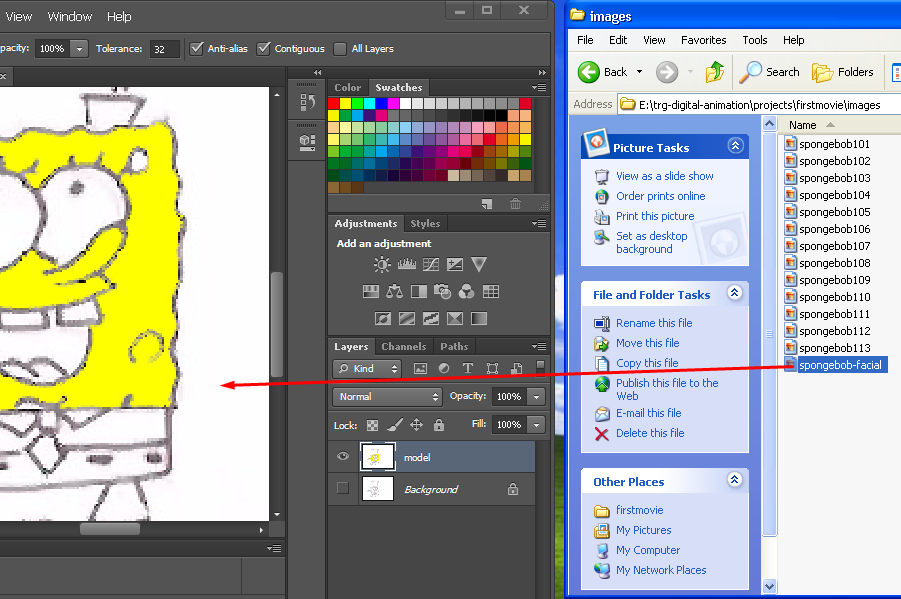
Press ENTER.

10) EYEDROPPER TOOL
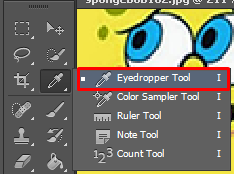
Click at SpongeBob’s body.


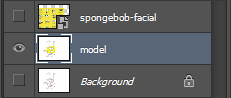
Deselect eye icon for spongebob-facial layer.
Select model Layer (to make it active).

Use Eyedropper tool to select mole color and repeat Paint Bucket Tool to paint model layer.
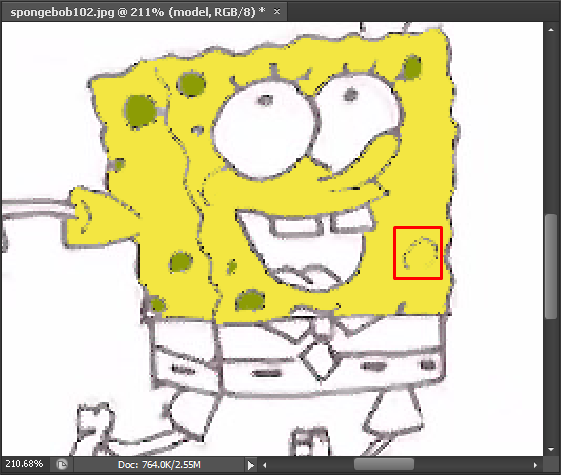
Notice that there is one mole that cannot be painted properly.

Use History or CTRL+Z to step backward.
Zoom into the problem area.
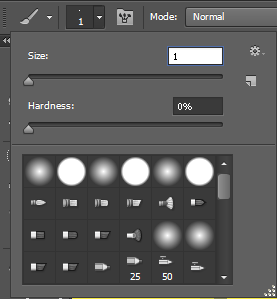
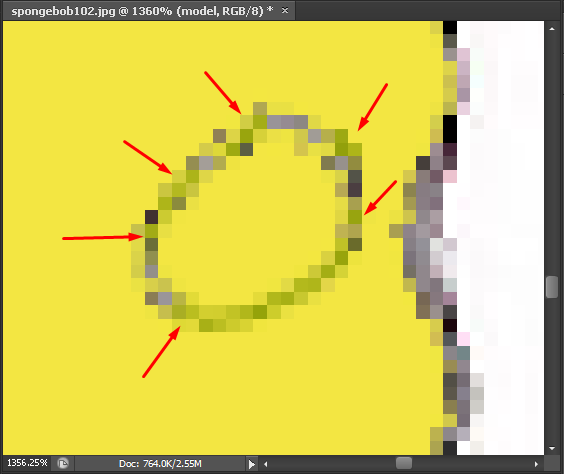
11) BRUSH TOOL
Select Brush Tool.


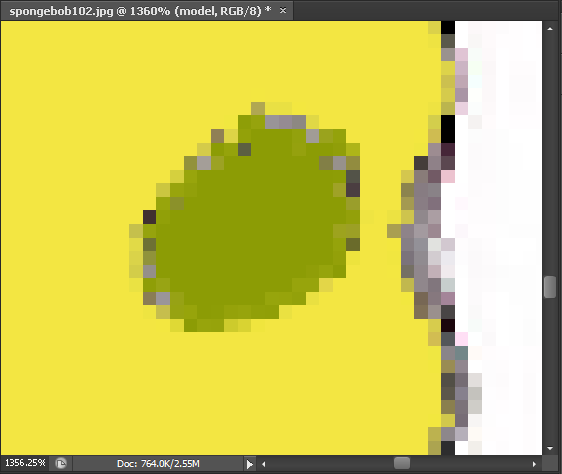
Save your image as spongebob102.jpg (replace original image).
Close all the documents.
12) PAINTING ALL IMAGES
We are going to apply the same techniques to the rest of the images.
Drag spongebob102.jpg to the drawing space.

Then, drag the image “spongebob103.jpg” to the drawing space.

Press ENTER.
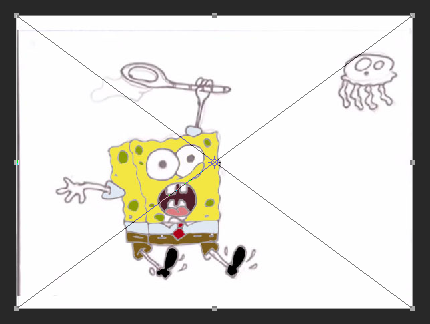
Notice that the layer is imported as a Smart Object.
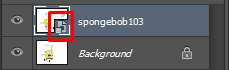
Right-click the layer and select Rasterize Layer.

The layer is now ready for pixel editing.

No comments:
Post a Comment